If you are migrating from another platform or onboarding a large number of clients at once, the Bulk Upload feature lets you import multiple clients simultaneously using a CSV template.
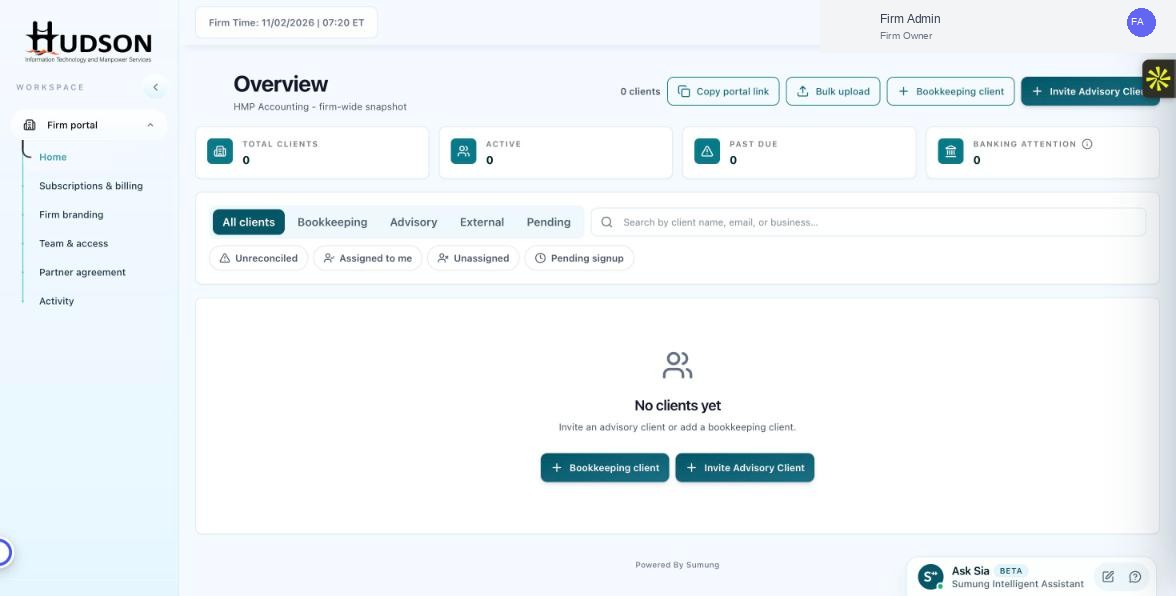
Bulk upload button on the Overview dashboard
What You Can Do
- On the Overview dashboard, click the 'Bulk upload' button in the top-right area.
- Download the provided CSV template from the dialog.
- Fill in the required fields for each client in the CSV: business name, email, type (Bookkeeping/Advisory), and assigned staff.
- Save the CSV and upload it back using the 'Upload CSV' option in the same dialog.
- Review the preview table to confirm all entries are correct.
- Click 'Import clients' to finalize — each client is created and assigned a seat as appropriate.
💡 Good to Know: Bookkeeping clients in the CSV will consume one seat each. Ensure you have sufficient seats before importing.
💡 Good to Know: Rows with validation errors (missing required fields, duplicate emails) are highlighted — fix them before re-uploading.
💡 Good to Know: Advisory clients in the bulk upload receive an email invitation automatically.
Related Articles
Was this article helpful?
Your feedback helps us improve our documentation.